Monday, December 16, 2013

MG 1/100 Unicorn WIP# 2

huhu... I guess this is a diagram I was trying to explain section C design in ZeroG forum.....

A little armor seperation to show off psychoframe...... nothing much for the thigh......

Just redo a little of shape on the front skirt......

extend the inner frame that holds the psychoframe, and make the lower armor slightly thicker. All this mainly to create some visual differences...

Again.... & again....... dunno why i keep these kinda photos.....

Lengthen the manhood part.....

I seriously wanna cry..... looks like some stuff i hv put in quite some effort, but, I DONT REMEMBER  WTH is that!!!!???


Front and back

This is one of my favorite. The back skirt. Drill holes, make vents for thruster.

 photo 20jan02.jpg photo 20jan03.jpg photo 20jan04.jpg
Hohoho, just a concept. Find the light saber mechanism plus the forearm armor somehow easily transform that looks like a small crossbow.... even can put in extra ammunition from its own rifle..... Hahah


MG 1/100 Unicorn WIP# 3

Continue.........


 photo P1012054.jpg photo P1012056.jpg
Original chest part. think it's too flat and symmetrical. Gonna do something....


 photo P1012060.jpg photo P1012057.jpg photo P1012061.jpg photo P1012064.jpg
Pla-plate added to raised certain parts. The side, cut of a part from the back piece n join it with the front piece. To make the whole chest less unified n symmetrical.


 photo P1012069.jpg photo P1012066.jpg
more pla-plating......

 photo P1012055.jpg photo P1012074.jpg
Looking good......


 photo P1012070.jpg photo P1012076.jpg photo P1012072.jpg photo P1012073.jpg
The open part of the chest. Make something inspired by Zeta Gundam.


 photo P1012077.jpg photo P1012078.jpg photo P1012079.jpg photo P1012080.jpg
Since I have plan to let the unicorn carries a BFG, just prepare some inlet for 2 cable that connects the BFG with backpack. Koto parts used.


 photo P1012081.jpg
This i remember is a photo i tried to explain armor gap building in ZeroG forum.


 photo P1012084.jpg photo P1012086.jpg photo P1012085.jpg photo P1012087.jpg
Backpack done!


MG 1/100 Unicorn WIP# 1

This is a project i intend to first try out full pearl powder, also my entry for Blue Frame Vs Unicorn Group Build.

Start engine!!!!!

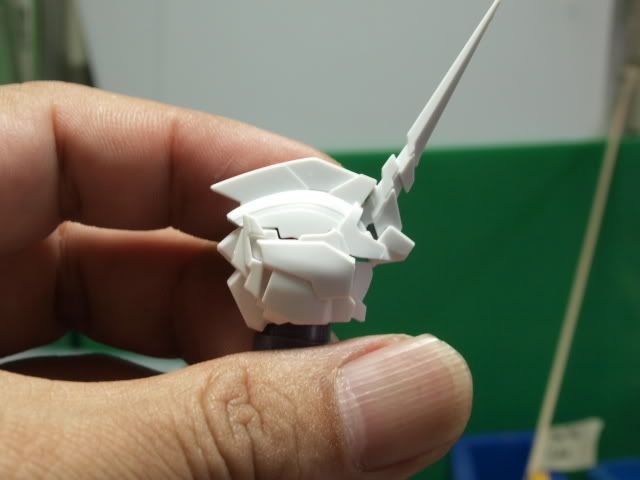
Really dislike the original angle of the .... horn. Too straight upwards.

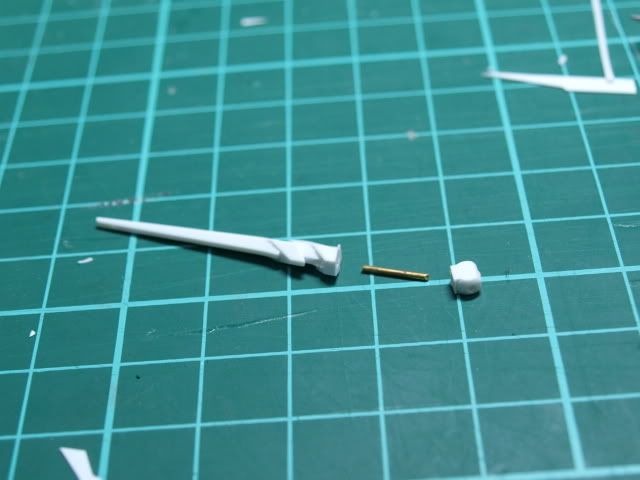
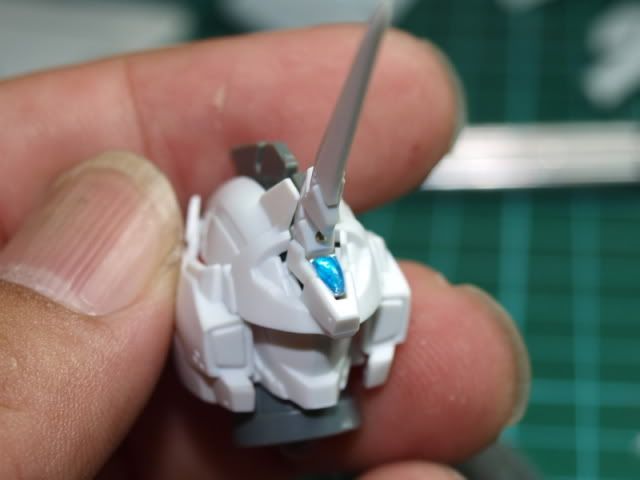
Seperated the horn with its connector. Change to a angle i prefer.


Ok job done. From side and front.

Ok, now need to think of a way to cover up the empty space due to the shifting of position of the horn. Option one will be making either an extra lens/sensor.

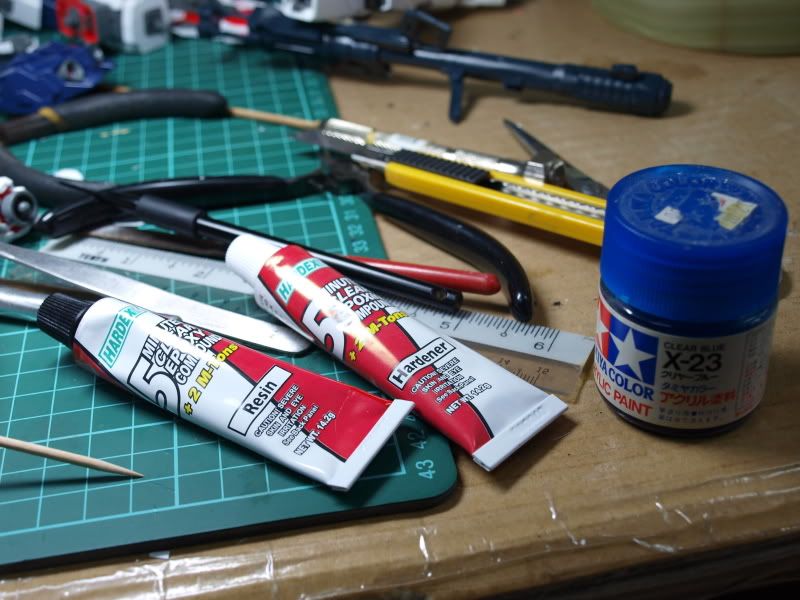
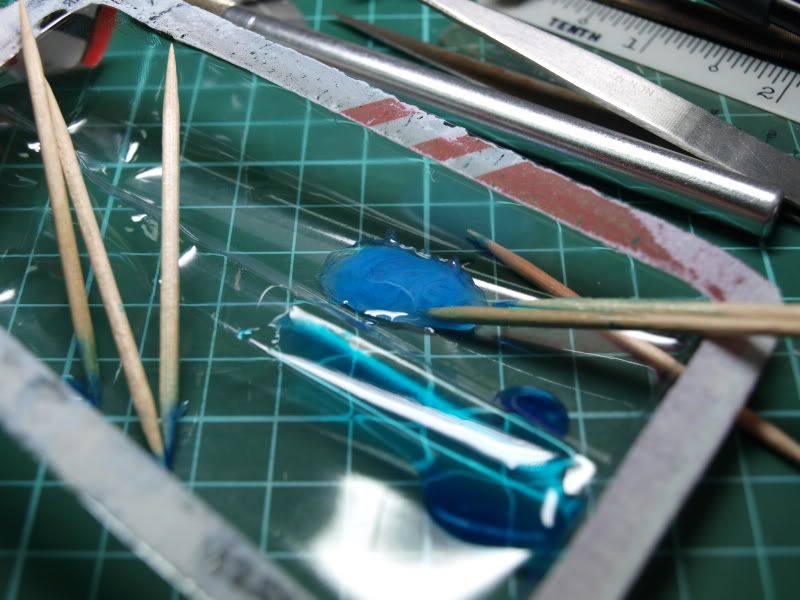
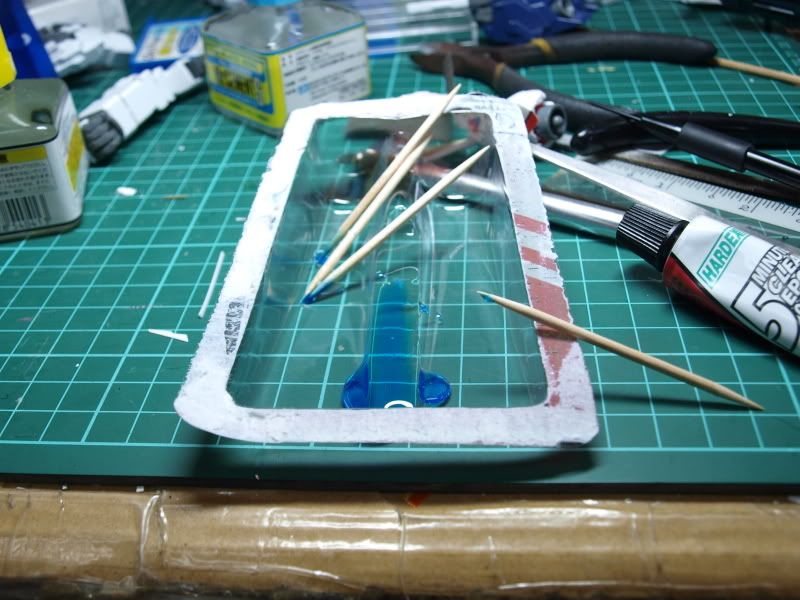
Am using epoxy glue and acrylic paint to create the lens. This is mainly due to the transparency n the body which the epoxy glue manage to provide.

Start mixing with one part of the glue, and it had become very scary as the resin turn into an opaque liquid....

But! surprisingly, once added with hardener, viola! the whole solution become clear again!!!!

This is what i got. The clear n the color actually looked pretty impressive. Besides that, it did give a bery nice body. However, a few problems that made me finally decided to call it off:
1) the bubble trapped inside
2) Though it gives nice body, but it tends to to too round on the top and the side. Yes, it is suitable for building gems or something, but for a mechanical lens, no.

 Yeah, agree........ YUCKS!

Added a small puny horn......

After that, decided to turn the sides to destroy mode. This is the easiest way to expose a little bit of psychoframe... Hohoho!

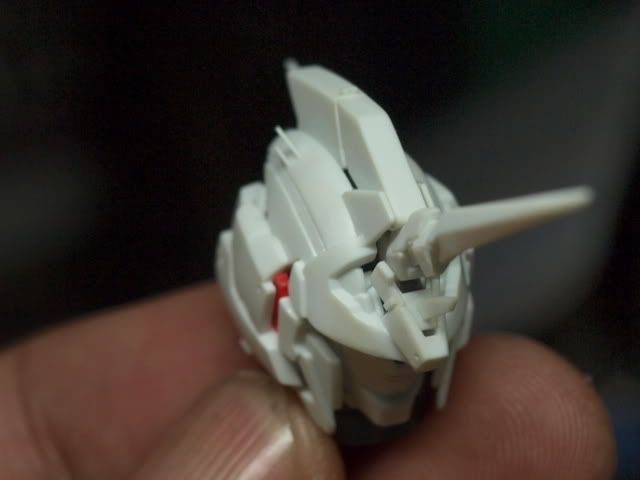
Added a antenna thingy at the back...well, unicorn mode side looks good, but thinking of the psychoframe part, in the end, decided to go back to original plan.....

Final Stage for the head.........