When I first decided to make this into a shoe box diorama, I was thinking of having clear acrylic of glass at the side, not only relying onto lights coming from the front/top panel, so that there ll be more light at the bottom part of the diorama. However I called the idea off as i realised seeing thru the side panel, makes it visually very distracting n complicated.
Therefore I have decided to use frosted mirror at the side, and put some LED as artificial light source.
This worklog is a brief record of how I've done it:
This is basically I plan for the placement of the LED: on the photo frame, shooting the light inwards, reflected by the frosted mirror for a more evenly distributed light.

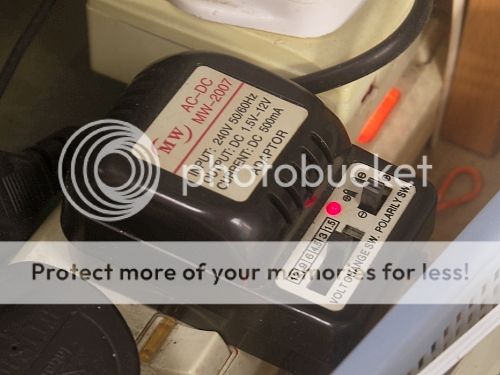
Instead of using dry cell bettery, I decided to use live wire battery with a AC/DC adapter. This is the adapter i use to connect.

The good thing about this kind of AC/DC adapter. First, it's cheap. Second, adjustable voltage (to control the brightness :p), third, adjustable positive n negative (Huhu)

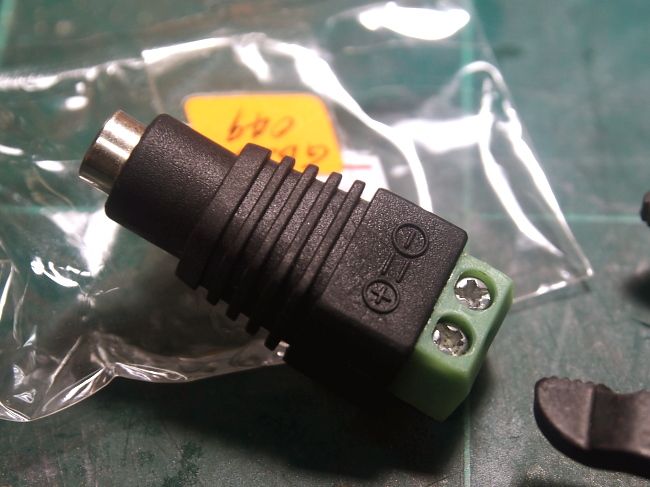
Good about this kinda adapter is: no need of soldering. a simple screw lock.

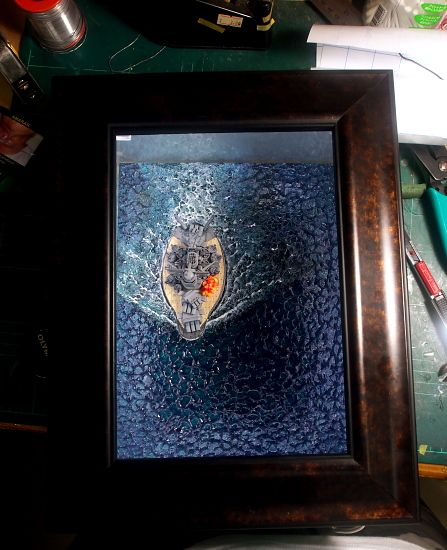
Ta Dah!

The final result is kinda satisfactory :)

***********************************************************************************************
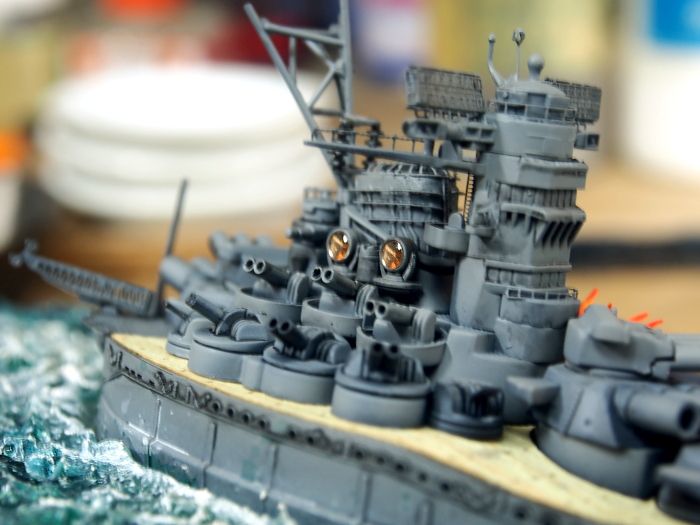
Some random picture that supposed to be posted in the previous update.... heheh


No comments:
Post a Comment