Continue continue, from Chinese New year break......
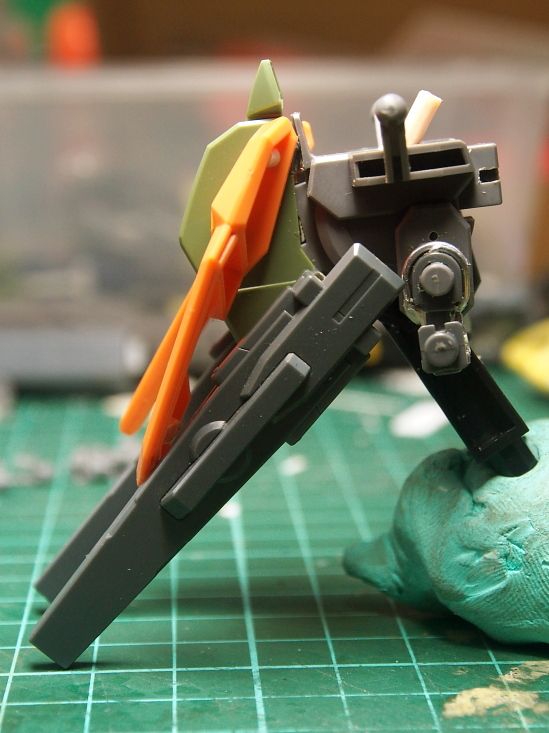
First, use back the Kyrios front skirting; added some inner skirt or whatever longest thing underneath it. All is done in the name of good-looking... hahahah, meaning no reason.
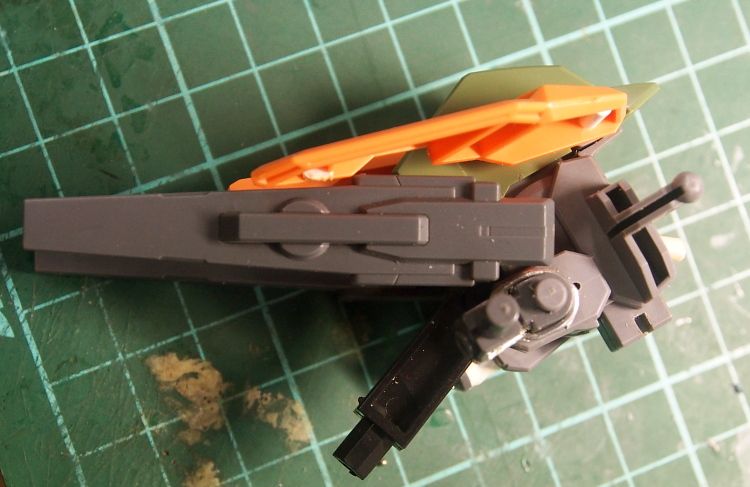
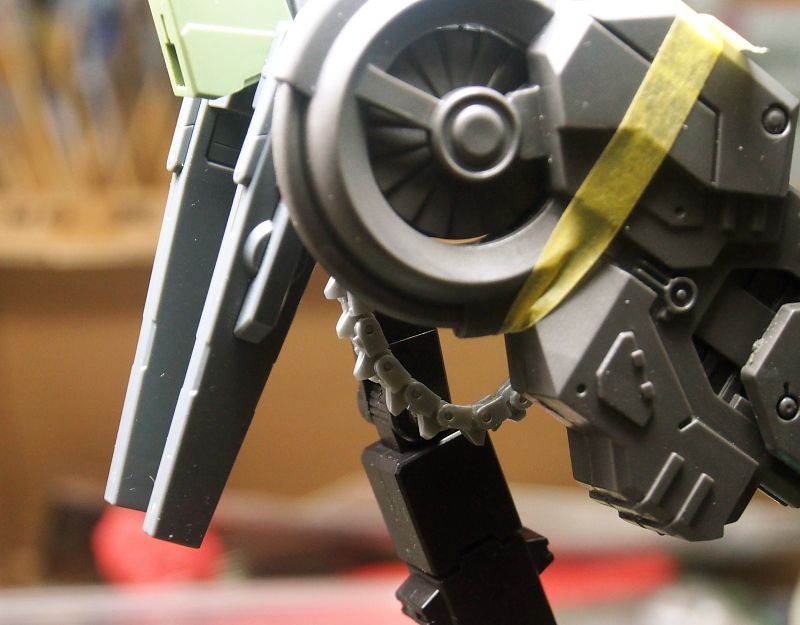
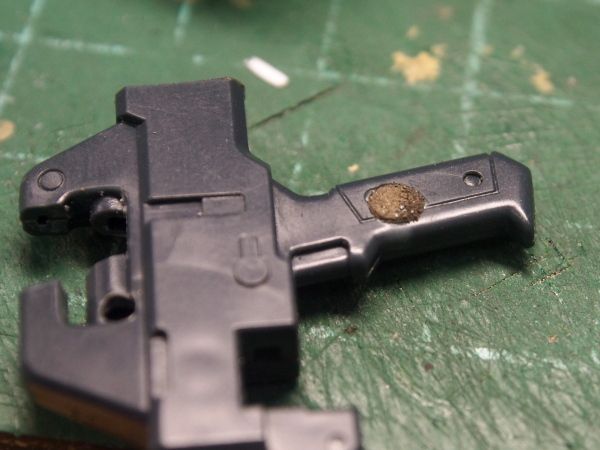
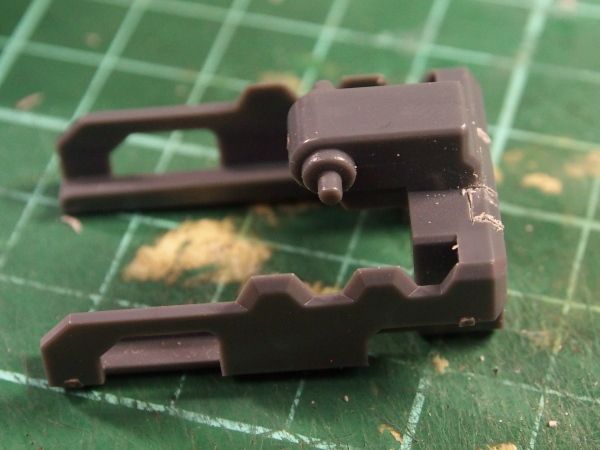
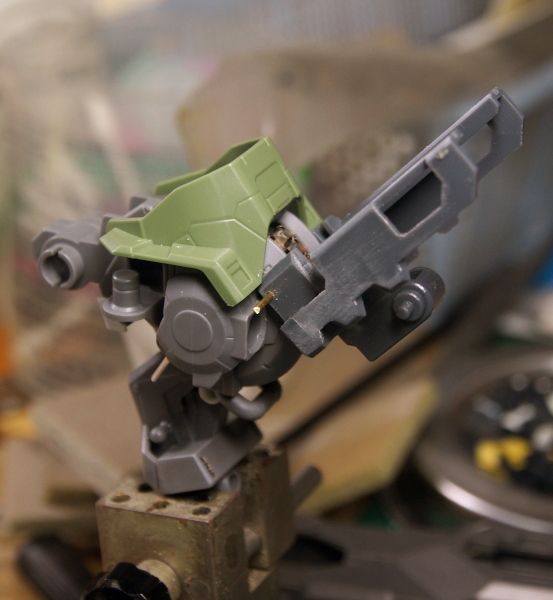
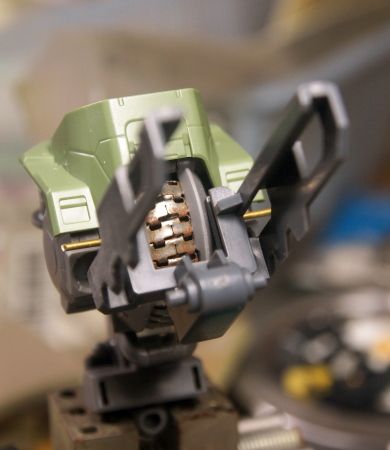
Next, I am using this Kotobukiya Chainsaw part. Instead of just using some mesh wire, this gives me some slight variation in the shape. The only thing is i have gotta drill hole n put metal wire in between them so they r more controlled.....
Repetitive work alert....
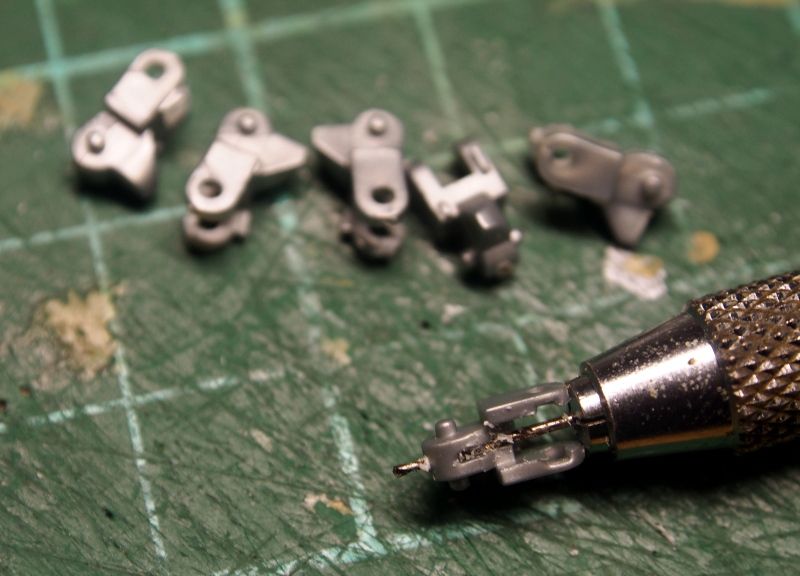
Bend it like.... how i want it to be.... muahahahahah!
Put it on.... Connecting one end to the main body inner frame and another end to the extra inner skirt.
I always do this, i dont know why. My instinct kind of construction always put me into difficult assembly potential....
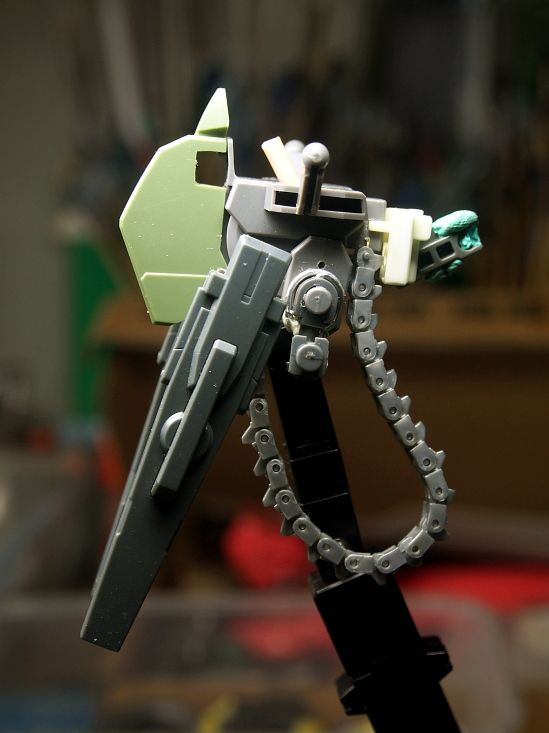
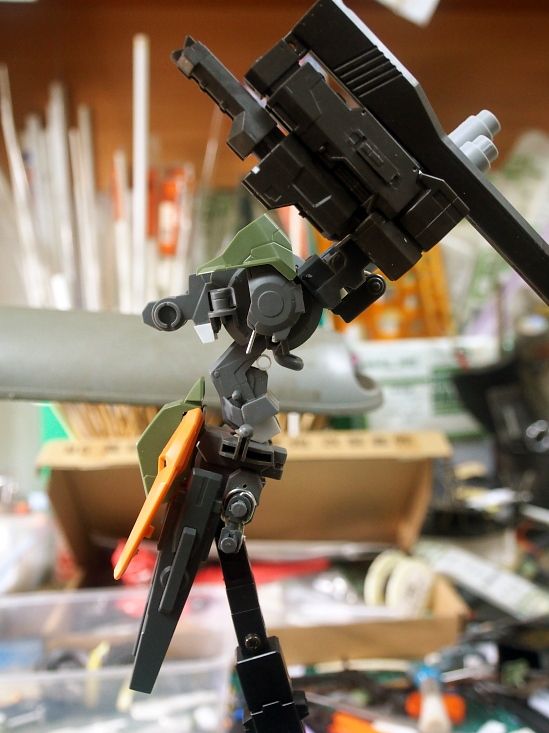
Connect the "leg" part n see..... damn..... 80% of the thing is not visible anymore... though that is what i wanted, but being a cheapo CINA ah pek business man, when this happen, i feel like i was cheated by myself.... feel very 唔抵。。。
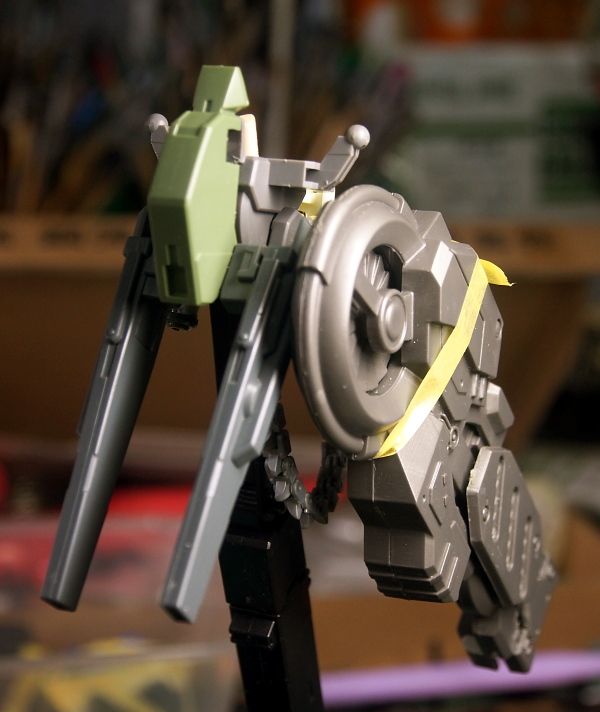
Ok add another one on the right side, with slightly different way to hang it...
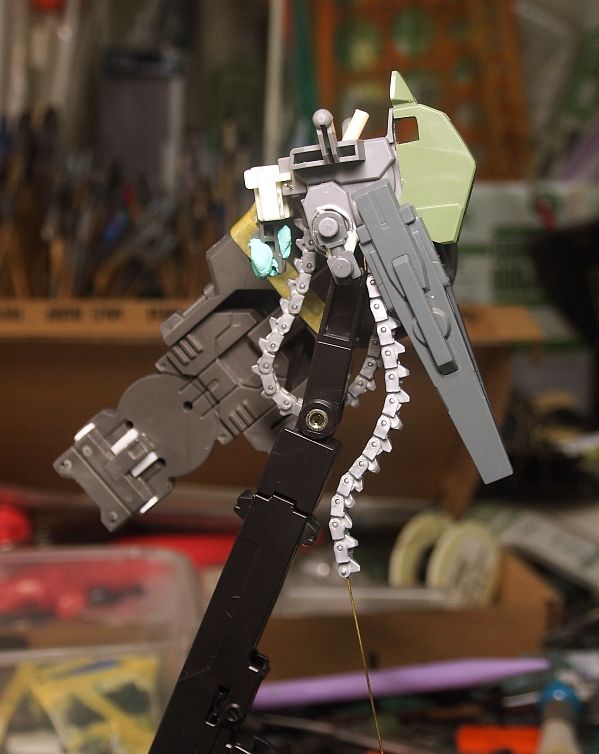
Hohohohho, at least this one can see more......
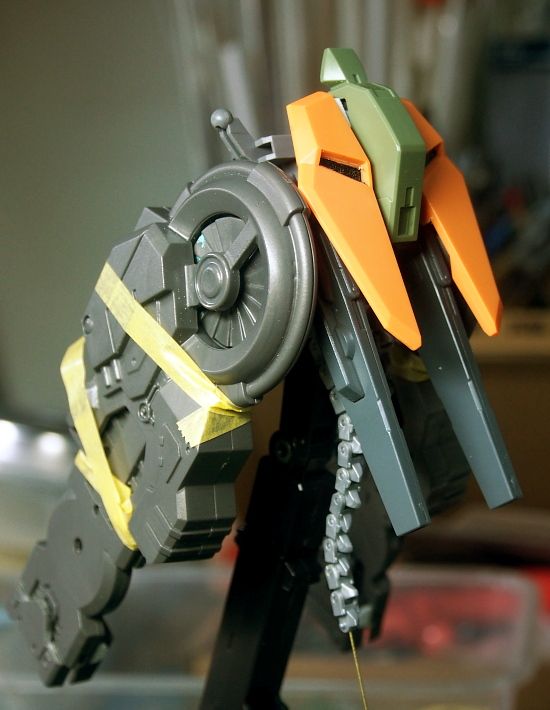
Front view.... also nothing much. Damn!
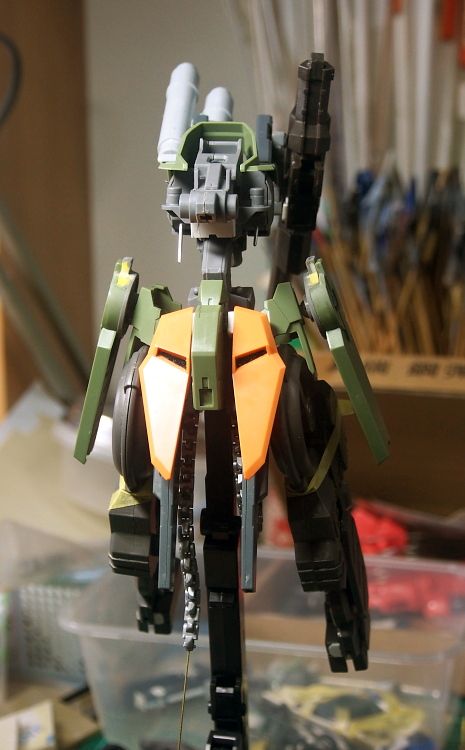
Side view and back view (Si-Fat view)
***********************************************************************************************
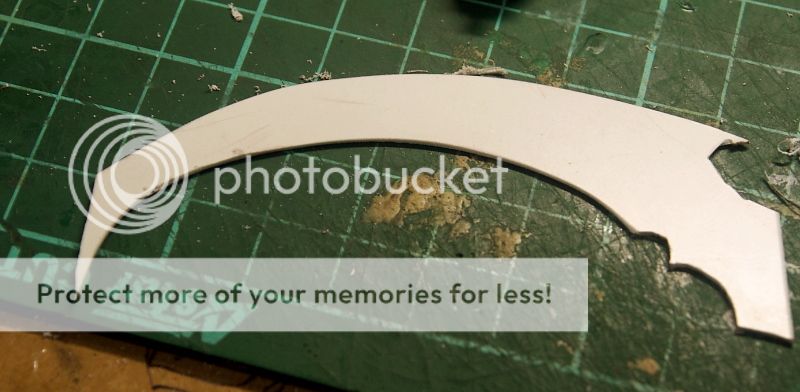
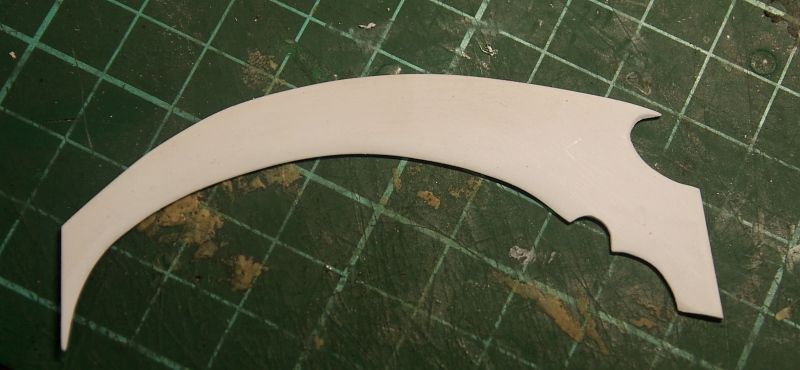
Next, the scythe, the stupid scythe. Why I choose such weapon?
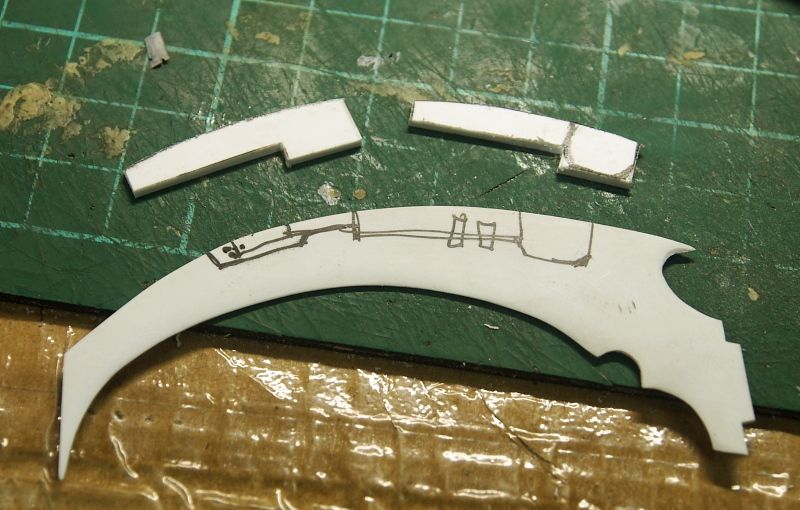
Basically, just free hand drawing the shape on pla plate, cut it out, smoothen it. Everything is done in the most primitive and boh tak chek way...... oh yeah, 1mm pla plate
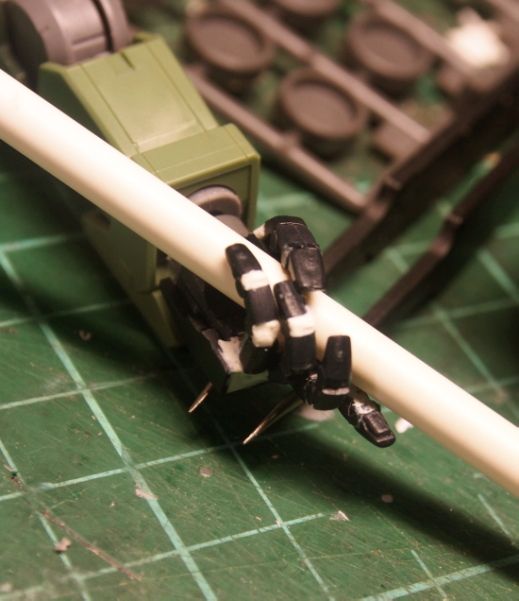
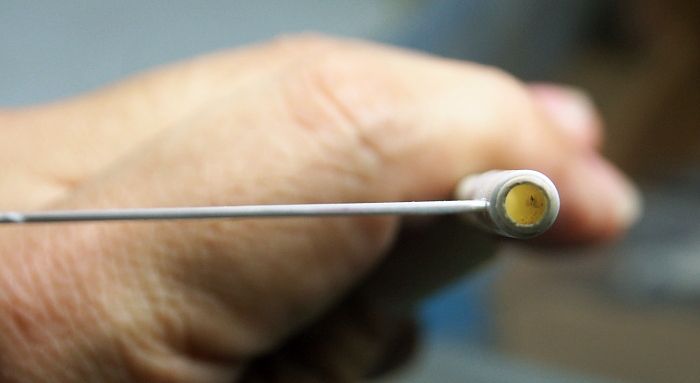
two pieces of pla rod, drill hole. connecting it to a round shape rod is surprisingly not as troublesome as i thought it would be....
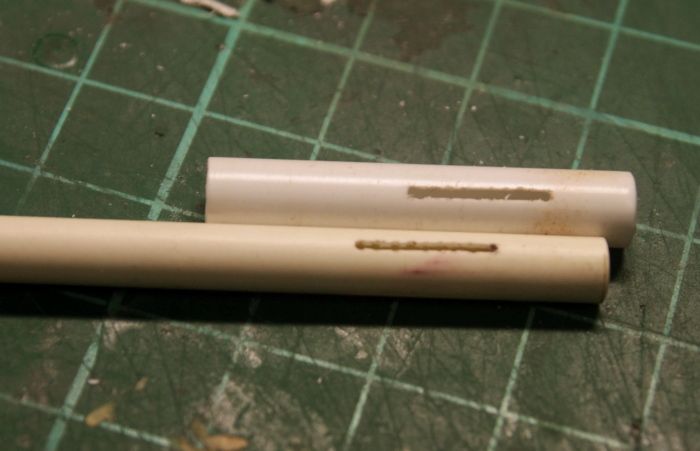
Cut out the part, ready for insertion..... please, let the thing be as straight as possible....
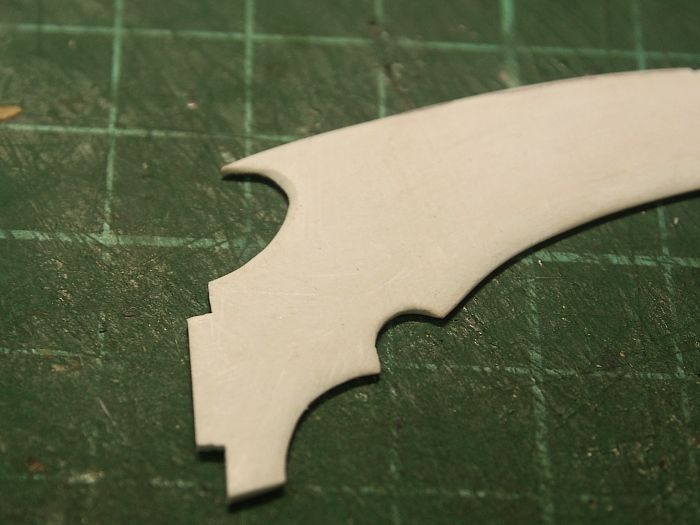
Huhuhhuhuh..... not bad not bad.....
This round i think i will add some mechanical parts onto the scythe instead of leaving it as a whole piece of metal. Let's hope i dont screw it up........
Btw, CNY holidays are almost over..... T.T
Thursday, March 10, 2016
Thursday, March 3, 2016
Kronos The Harvester - COTT Build Off WIP#4
Here again.... CNY used to be a fantastic period for me to rush on any modeling project, but seems like this year i was back to work kinda earlier than i thought. Anyway, it is still a lot better than usual....
First, yeah, just photos of the back skirt i actually forgot to took wip photos.
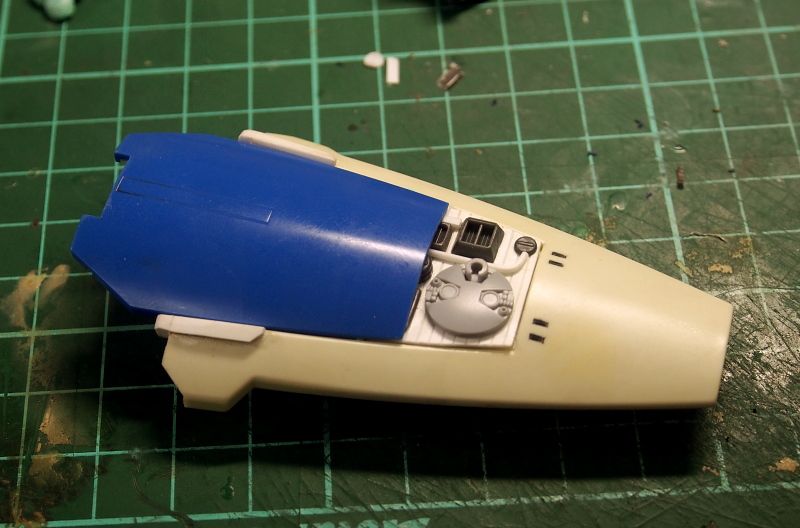
I use an MG GP03, thanks to Honeymic for the kit. Just random slapping some loose detail part on it. Might not use in the end as it looks kinda lack of planning n design....
The inner part, just put some random parts and make a base for some extra thruster.....
The connector at the top is used to connect it to the main body.
****************************************************************************************************************
Arm.
.
..
.....
..........
No idea. Overall, i think the upper arm is kinda bulky n short, while the forearm i would prefer it to be much bigger.
However, i am pretty happy with the overall length. As a result, touching one part will result in some heavy, too-much-to-do modification onto the entire arm.
So, a honest note, i kinda have some idea how the outloook should be but too lazy. Unless i manage to find an easy way to do it. Else, this will pretty much be the final appearance.... hohohohoho
Change the palm with Yellow Submarine manupulator.
Two reasons for me in doing this:
1) I want a nice holding posture
2) After playing with it too much, the fingers started falling off.
3) I have this new product which is epoxy putty in cream form. Eager to try it out.
As a result. FIXED POSE!!!!!
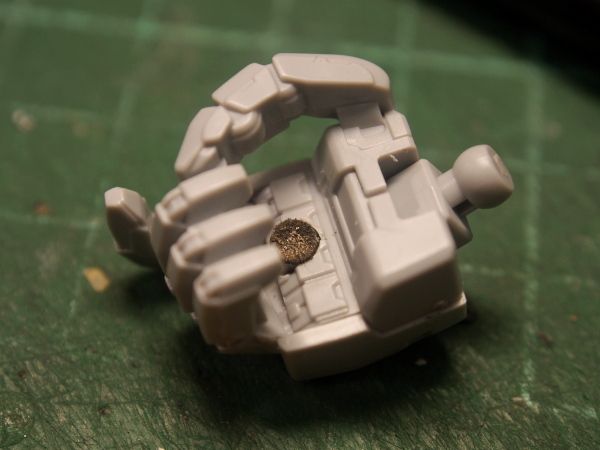
Talk about consistency..... Right hand, i started working on Bandai's manupulator. Am i really that lazy? because the fixed fingers are very durable.
Added a piece of magnet to help hold the gun.
Another on on the gun..... Until this point of time, I suddenly realize, i forgot to take pictures of the hand gun!!! which is my right hand's weapon.... OMG.................
************************************************************************************
Next, Backpack!
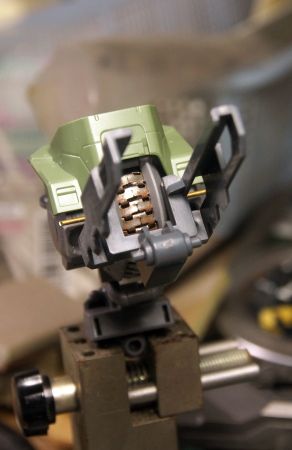
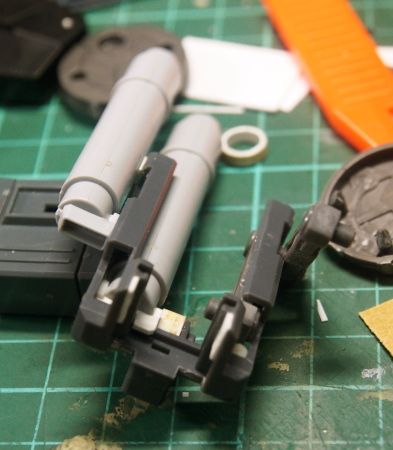
If i remember correctly, this is a kotobukiya weapon set. Some claw thingy.... dont care, just use the middle part.
Saw off whatever is in the way!
With the help of copper tube, hold it onto the back. Taadah! Done! Fast n easy. Next will need to crack my head on what to put on it....
This is supposed to be the "backbone", which i got this idea of using aftermarket metal gattling gun chain ammo (Snake chain actually :p) from Kriz Cook, thanks bro!
However, the result here is not as significant as his. But still, will put it there as it still looks better than the original yellow part.... :p
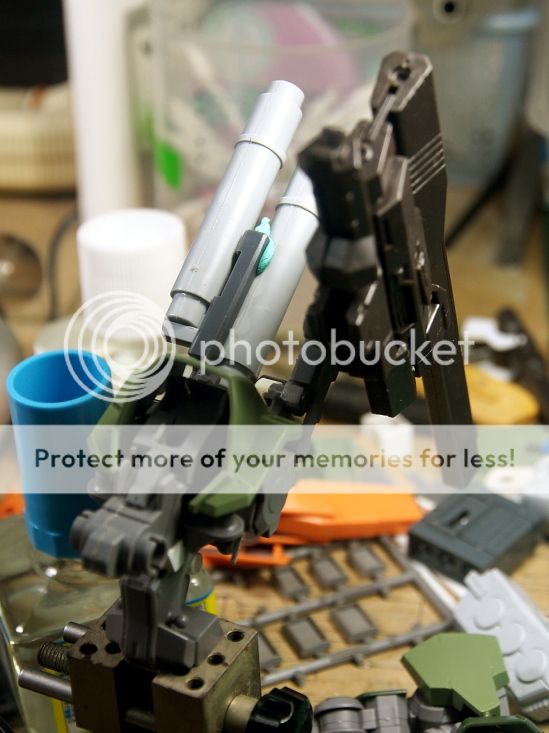
Another Koto part, a long rifle thingy for armor core. drill square hole, put a female peg in it.
Again, white color creamyepoxy putty to secure it!
left side, some unknown cylinder shape parts. Parts are from Bandai GBF
Voila!!!!!
so much for now..... more photos coming.
YES, chinese new year is a very good time to speed up progress. My target s to finish up basic structure before March....
Subscribe to:
Posts (Atom)