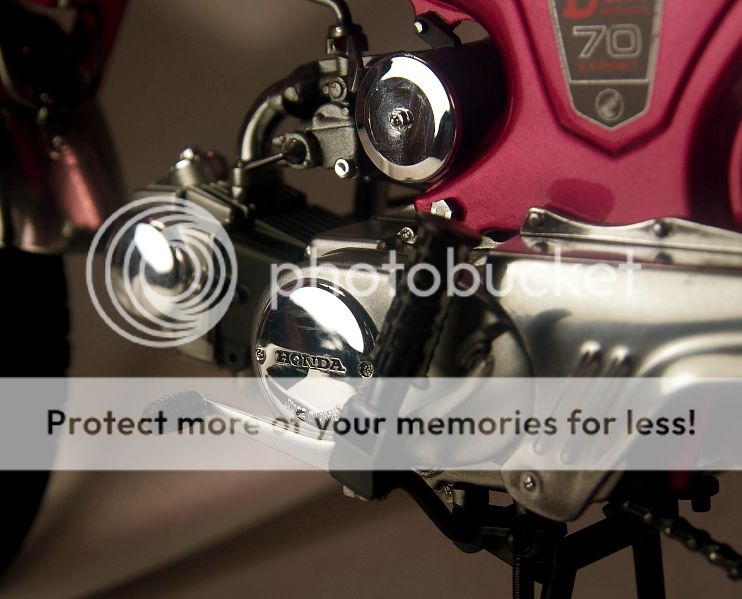
However, due to unexpected work load, and failed in "taking it easy", i couldn't meet the deadline. two saturdays later, here i present you this, probably the last completed kit for 2016:
Tamiya 1/6 Honda Dax (1979)


******************************************************************************************************************************


******************************************************************************************************************************
Other Color Background


This is quite a wake up call to me: especially on how good the kits i am currently building. There are so many things i have had taken for granted.
However, I am still gotta give praise to Tamiya. For a kit that is engineered and produced in 1979, i must say Tamiya is way ahead of its time. Though there r steps that i have seen better way in execution, but all these long lost stuff had brought back so much memories :)
There is one major thing about this kit n the process in making it i would like to highlight here:
Decal. This is the first time I deal with such waterslide decal. The carrier film doesnt look thick, and it is as fit as possible to the printing area, but the decal just feel strange. It has this stretchy feel of it. To me it is more like the ink used.
 The printing image is excellent, just the ink feels a little thick. Thick in a nice way. I really dont know how to describe it but this is definitely the type of decal i can let it be at the final layer anytime.
Probably of its ink chemical, this round the decal, despite being relatively new, cracked after lacquer wet coat, with a few layers of mist coat before that. So gotta be extra careful with decal like this.
Another i would like to briefly mention is that the reason i always leave some original chrome while most other i washed away n repaint with acrylic chrome paint. This is basically to fool the viewers' eyes. Normally our eyes pick up the more eye catching ones and tends to form an impression on it. I am just not in the mood of typing long art n color theory; but just as a reminder that a lot of things that deal with visual, we can work smart instead of always work hard.....
Other than that, basically this is just another OOB project i had my share of fun n pain :)
C&C welcome!

No comments:
Post a Comment