These are the photos I manage to dig out, I try my best to revive what I wanted to share at that time.

Panel Lining the wings:
Usually I use masking tape to decide the exact position for the panel lines. After that I ll use a needle to poke holes to mark the lines onto the surface.

After that, there ll be dymo tape, a hard PVC self adhesive tape, to help scribe the lines.

Seamline.
.........
.............
................
Yes, it is seamline.

Seems Like I was about to fill the holes.....
& seems like at that time I'd already started to love epoxy putty....

Seems like the hole was filled...... (Hahahaha I m starting to feel silly for trying to put a caption onto each photo.......)
Alright! I was trying to extend the join connecting the back wings to the backpack.
Was i using a double ball joint? Actually I cant remember, but well, it sounds kinda cool, so I ll go with it.
Was i using a double ball joint? Actually I cant remember, but well, it sounds kinda cool, so I ll go with it.

Yeah, seems like I'd done it. Increased the angle the wings were able to move, but the over-length connector seems a little pain to the eyes.....

cut a small part outta a tube, well, it could help to hide a little bit.... better than none.

Part separation. Instead of masking, I would always prefer to separate parts for easy painting...
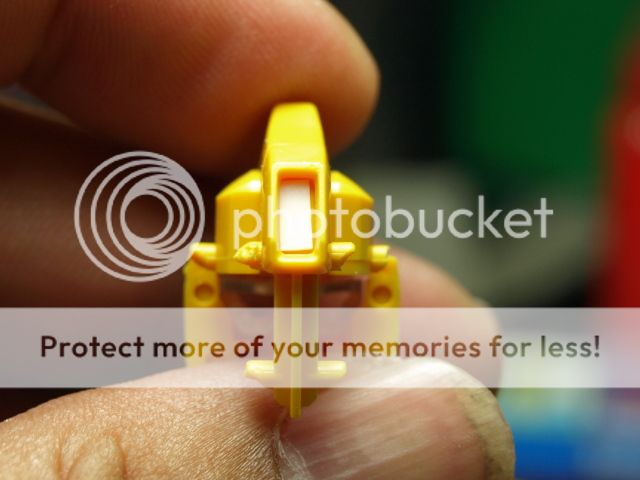
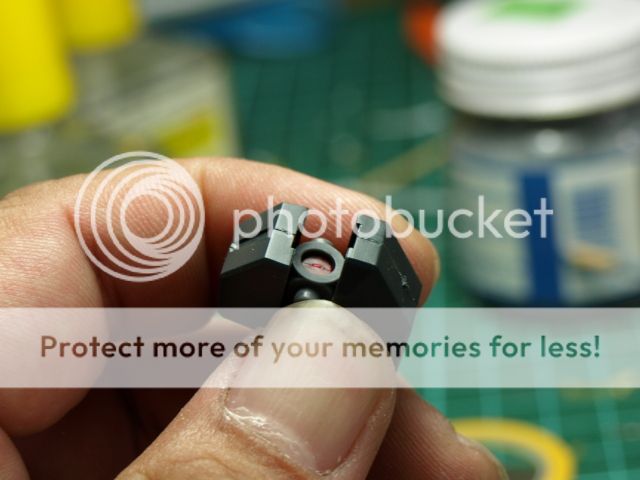
Add another separated part for the lens...

Original: The power cable is actually a separated part in the knee joint, However, if I wanted to seal the knee joint, then I couldn't take out the cable anymore.

Cut it off and make it a C-clamp for accuracy n easy assemble after painting...
er..... actually I do not know why I have this photo......
That's for now, for part 2 where I share a little more on what I had done on this kit:Hyaku Shiki wip #2
No comments:
Post a Comment