Same sh*t, just plan out the panel lines, use masking tape to capture accurate position..
Panel line done. With a little pla strip here n there....
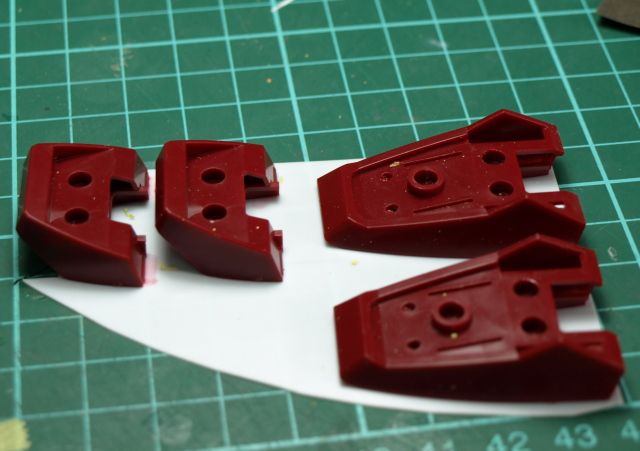
For feet, prefer them to be thicker, hence, cement everything on a piece of pla plate.
cut them off to approximate size..
After get the size right, glue another layer of pla strip. This is a very easy way of creating details; just add plastrip as where u want them. after that a little putty or even primer could cover the seamlines.
Am using polyester putty, is relatively easy to sand and very easy to work with. Only problem is its working time is kinda short. But for filling holes, more than enough.
Panel lines and marking for sawing hole.
LOBANG!
My usual way is panel line drew (for accuracy of space), drill holes, and push! after that use pen knife to trim.
I do not know why Gunpla modelers love to poke their kit's @ss, do they really find it nice? or just being lazy? :p
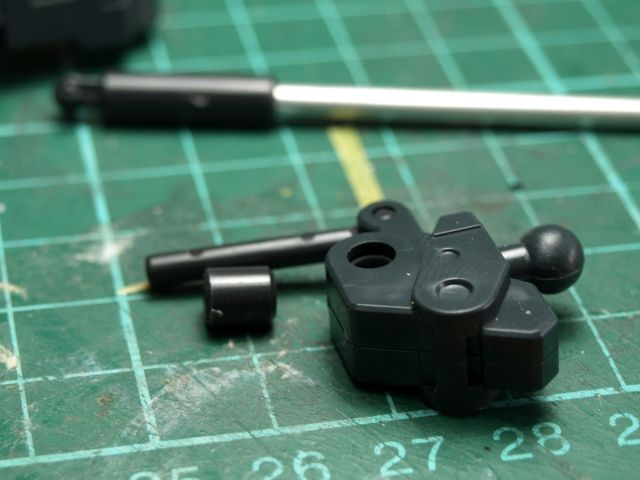
Since I would want being able to fine tune the final pose n position, hence decided to add a ball joint instead just poke thru the @ss
Reinforcement using epoxy putty, well, since i still have some leftover after filling the holes on the wings.
Primed, and changed to a yellow submarine ball joint.
Again, panel line.... boring..... oh, the lower part seemed a little empty too.
Add a little pla plate and Kotobukiya option parts.
Yeah..... big deal. Duh.
But since it only took me 10 minutes, why not?
Ok, i always find the most unique thing about hyaku Shiki is the big arse piston/hydraulic at its feet.
It's a must for me to change that part to metal part, and modify it such way, the silver metal part must be very visible.
So..... cut!
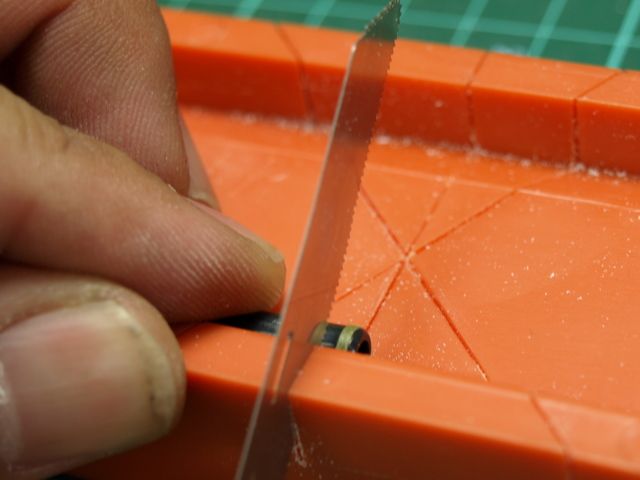
The photo show, again, i use masking tape as guide....
SAW!!!!!
Oh, side note: the orange thingy is a tool i really love to use. Specially designed for thin PE saw....

SAW! again....
This is for the lower part.
This is it for this project's work log...... thank you!
For part 1 click here:
Hyaku Shiki Wip #1


No comments:
Post a Comment