Ok, just one fine afternoon, I got this pm from a group chat initiated by Donc, with Omar (aor_or_die) and Matt, suggesting why not the 2008 bunch who met in Hongkong have a build together. As a matter of fact, think of those years where social media wasn't as common and people dont get to "meet" people so easily in the internet, I cherish the friendship, hence i am in.
Oh yes, putting us into this hell pit (just in case it turns into one) is all Don's fault! Hahahahah
So for this Gb, which we dont really set a starting nor ending date, I have decided to work on a PG MKII, a mecha I really love n probably the best overall balanced designed mecha I think in the Gundam universe. (Gundam fan war monger, stay outta this, this is my blog... :p)
At the same time, as Neo_Sigma is also building a PG MKII, I think why not we have a side-to side build to encourage and to challenge each other to reach for the better. Well, since face off or build off sounds much cooler, thus, this is also a face off build between Edwin (Neo_Sigma) and i.
This round i m going the direction inspired by a MKII Edwin built in 2009 ZeroG MKII group Build: Neo Ares MKII (If i remember correctly). Basically a red-color with yellow Titans strips MKII. As Picture below:
**********************************************************************************
Ok basically this is the first time I am building a PG with modification.
First thing I did was.... BREAK the male ball joint on the backpack, the ones that hold the beam saber. Good job, ray.... No big deal, it just add up to additional work.. no big deal.... I say, NO BIG DEAL!
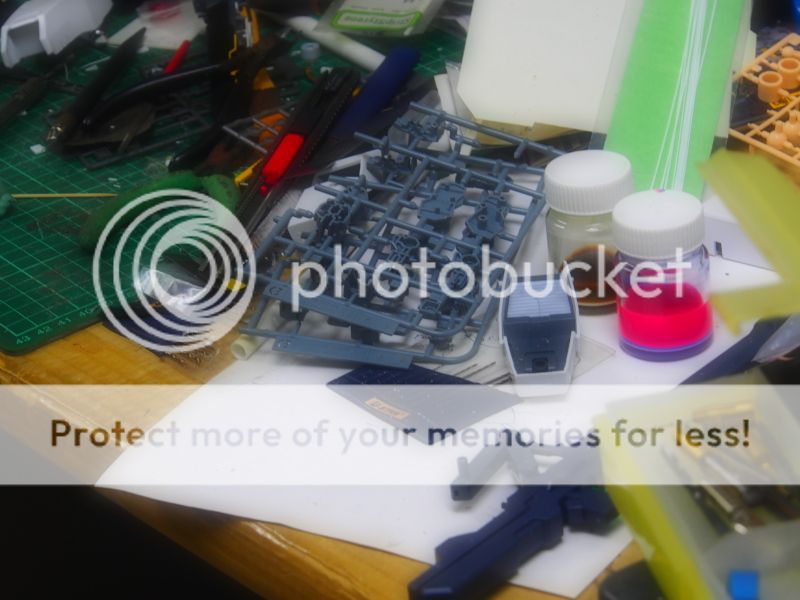
Did a lil sawing, trimming, slicing, cutting, sanding.... Since I will be adding two extra parts from HG Saravee, I just replace the original join to saravee's. In the end, it prove that this is a bad idea....

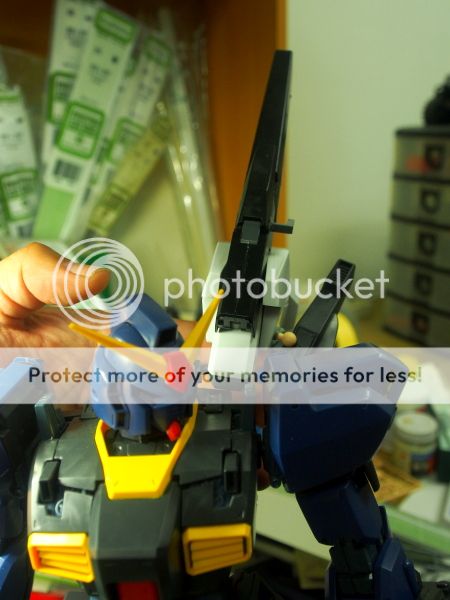
This is basically the idea.
Ok credits goes to Shermen, Toon, and Renny too. I realised when come to redesigning of mechas, I am pretty bad compared to there people. Basically, it consist of saravee's thigh, and weapon, plus the original MKII beam saber holder.
Side view:
Side view with no finger T.T :
This is even before all the details, and multiple metal thrusters...... Think really gotta think of a way to tigthen the joint.... darn!
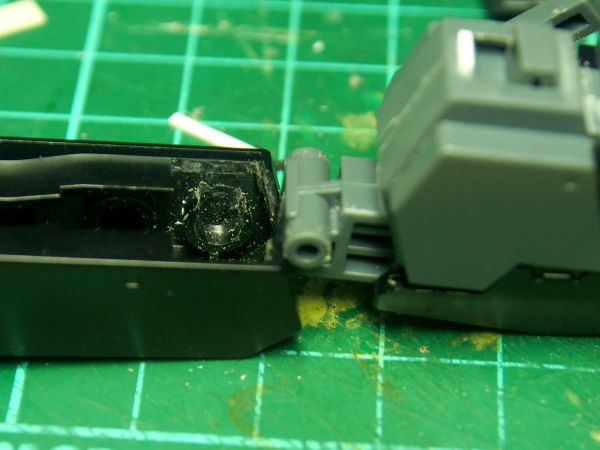
Again, this is something I had been answering many times. If one shall not wish to do masking when he encounter a part which seamline needs to be covered, think of the a way so that the two parts can join without affecting the covered seamline.
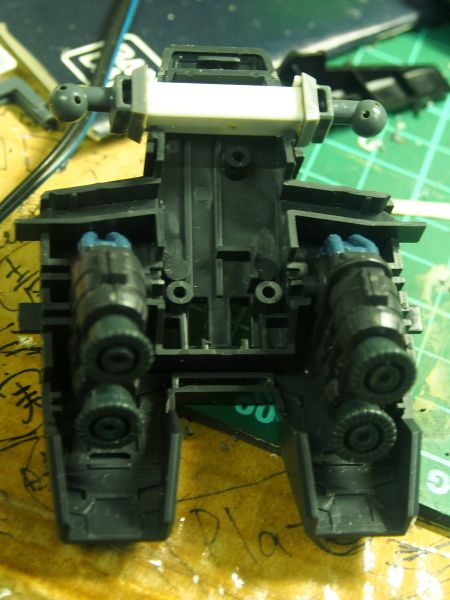
Top photo, seamline line covered. Turn it over , can see parts had been saw n cleaned so the connecting part which is a different color can be joined together after painting.
Ok..... this will be one of the thing I did...again.... that probably lead me to hell ...again. Yes, square hole hell pit. I shall meet the demon soon.....
so far for now. Talking enough nonsense, showing way-not-enough photos... well, at least after neo-Sigma showed his wip photo, this is my least kiasu reply.... Muahahahah.....




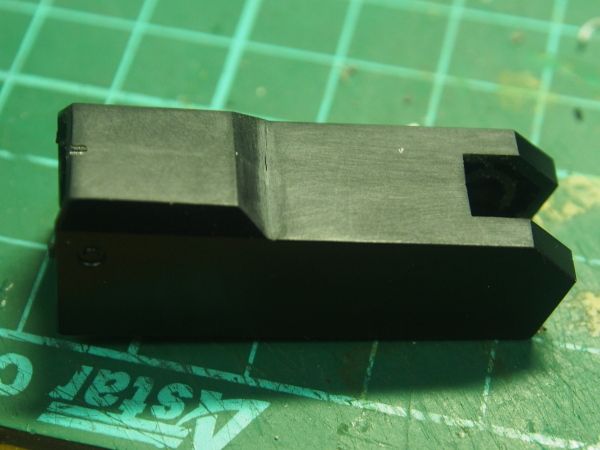

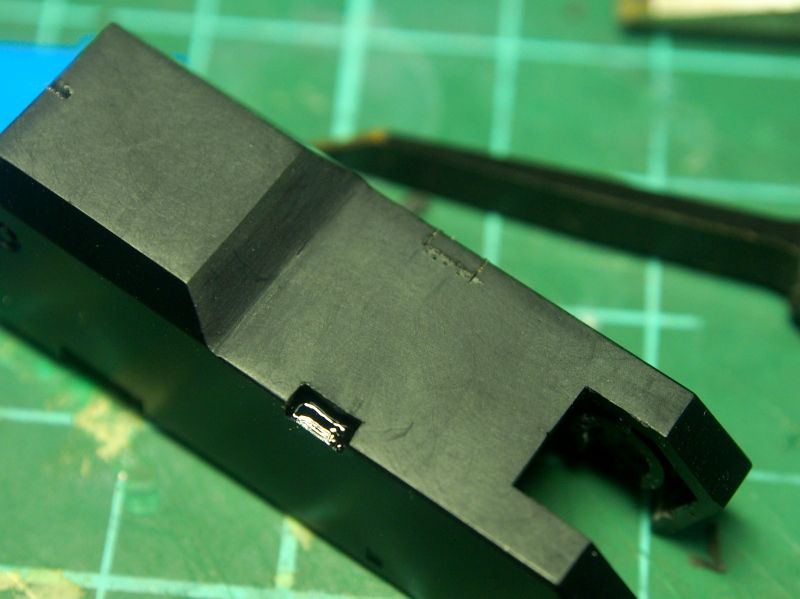
what actually u did in the last photo? did i see smting like fluid in the hole?
ReplyDeleteHi, that's actually thin cement. To help make the bottom smooth; and is easier to show in photograph of the square hole.
Delete