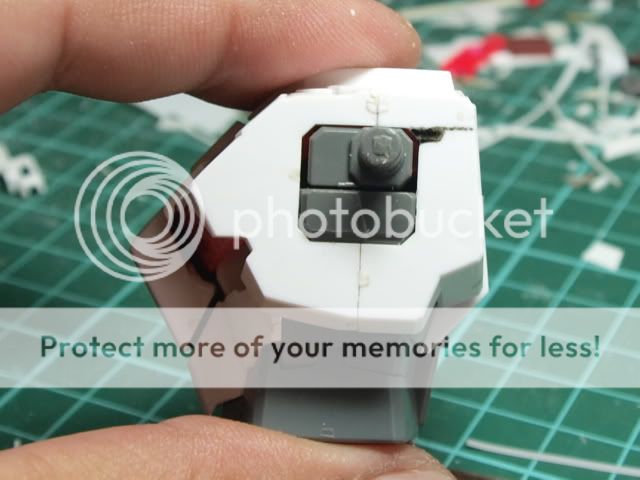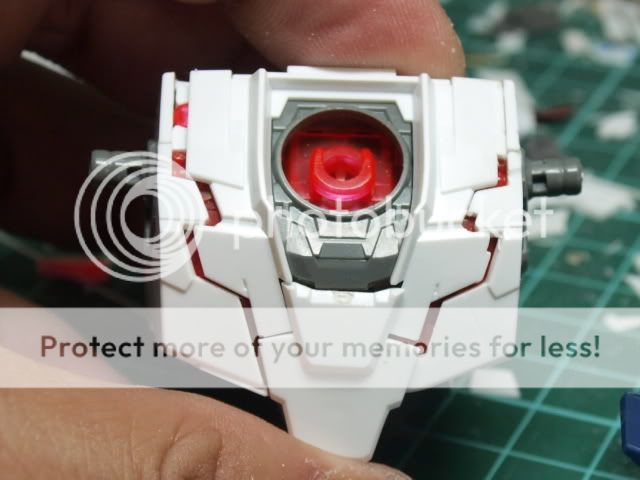

Original chest part. think it's too flat and symmetrical. Gonna do something....


Pla-plate added to raised certain parts. The side, cut of a part from the back piece n join it with the front piece. To make the whole chest less unified n symmetrical.


more pla-plating......


Looking good......


The open part of the chest. Make something inspired by Zeta Gundam.


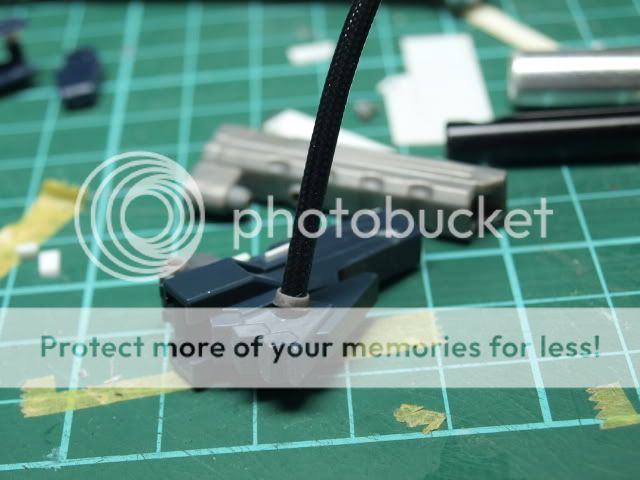
Since I have plan to let the unicorn carries a BFG, just prepare some inlet for 2 cable that connects the BFG with backpack. Koto parts used.

This i remember is a photo i tried to explain armor gap building in ZeroG forum.


Backpack done!


Construction of the BFG. Basically just some bashingwith the original rifle, koto armore core parts, some metal parts, springs etc. The picture with lable of 1,2,3..... sorry forgot why i did that. should be some explanation......


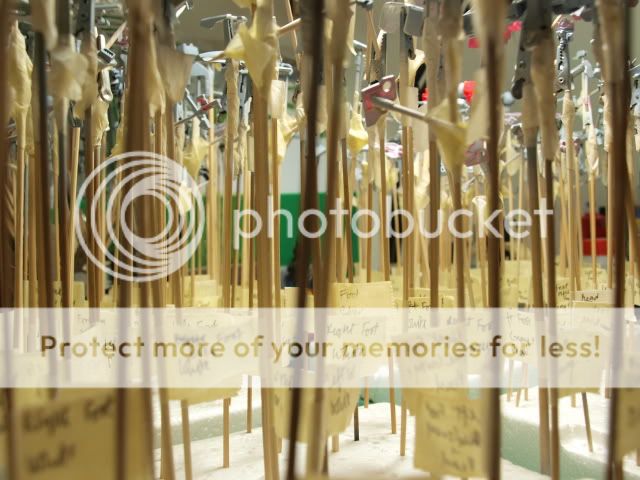
Just some photo for the satay stick forest... :p

Last photo for WIP, all setup before sent to BAKUC.
Yeah the blue color psycho frame, they do look blue from photo. it's atually gray with pearl powder that reflects blue. Nice concept, but because the parts lacks curvy surface, unless u move your head right n right while looking at the same spot, u wont able to see the changing color.
This consider a failure.
For Completed Kit:

No comments:
Post a Comment