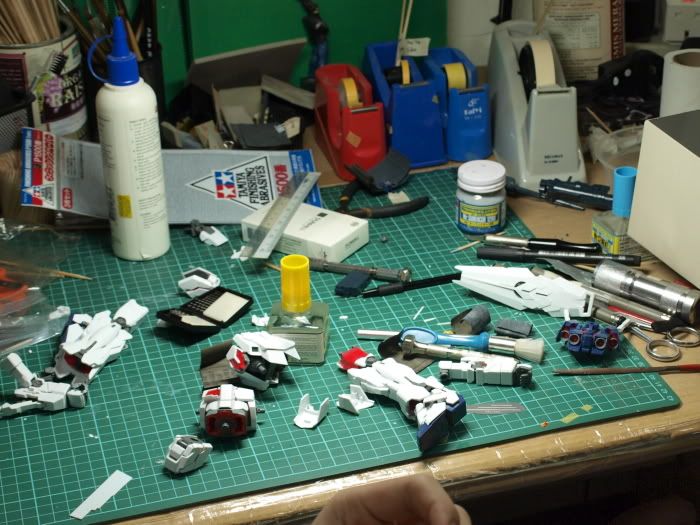
Start engine!!!!!


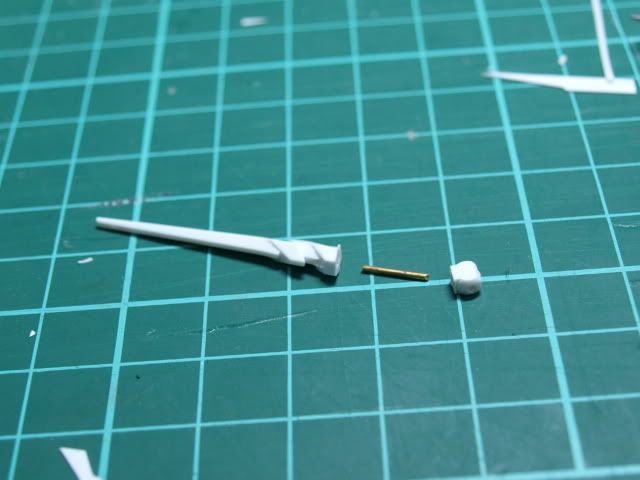
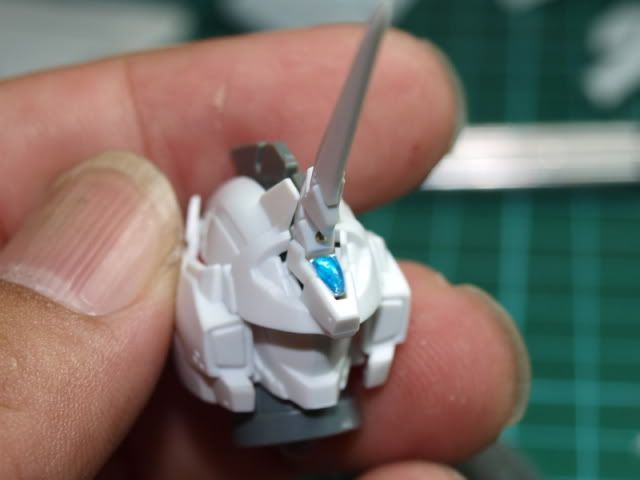
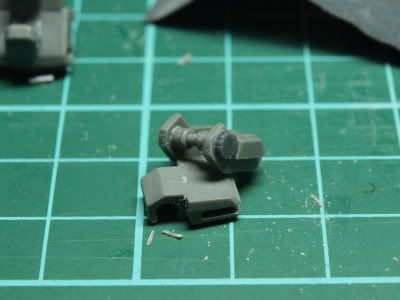
Seperated the horn with its connector. Change to a angle i prefer.


Ok job done. From side and front.

Ok, now need to think of a way to cover up the empty space due to the shifting of position of the horn. Option one will be making either an extra lens/sensor.
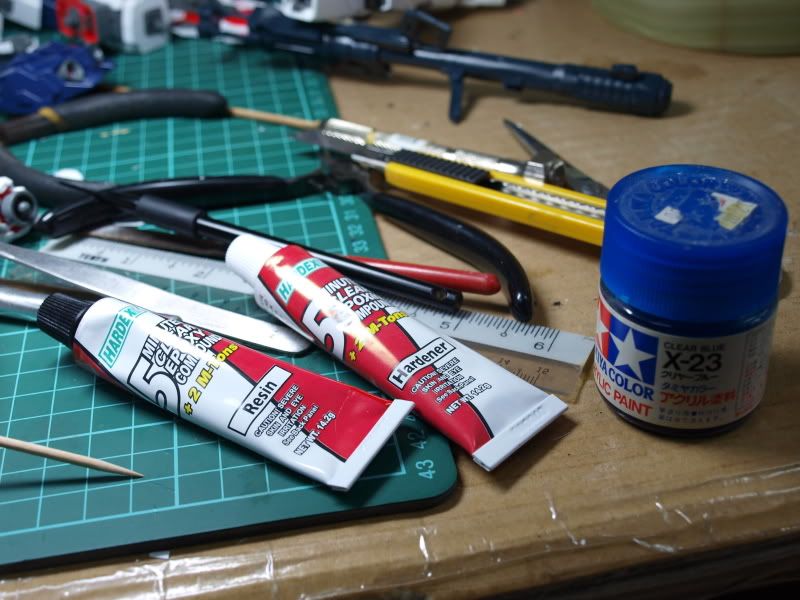
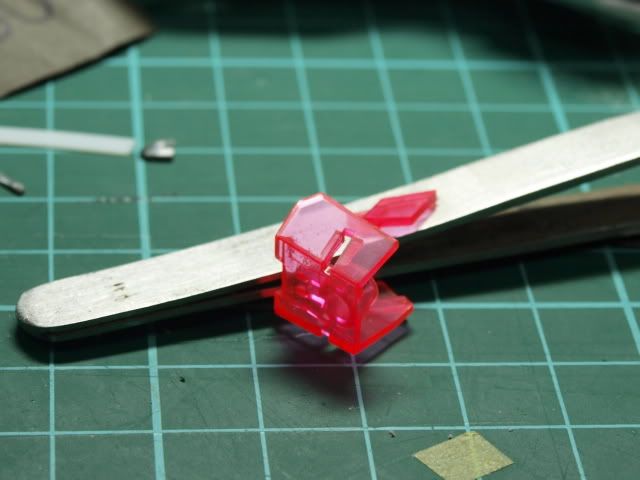
Am using epoxy glue and acrylic paint to create the lens. This is mainly due to the transparency n the body which the epoxy glue manage to provide.
Start mixing with one part of the glue, and it had become very scary as the resin turn into an opaque liquid....
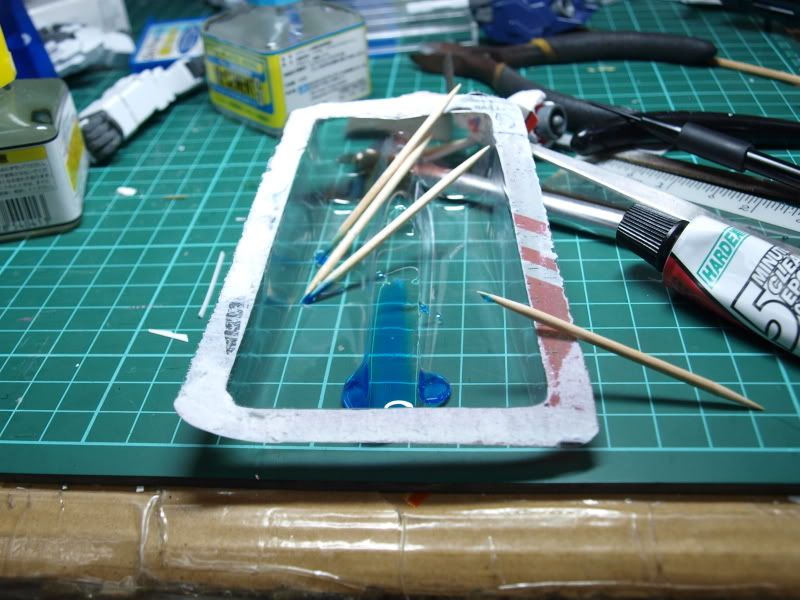
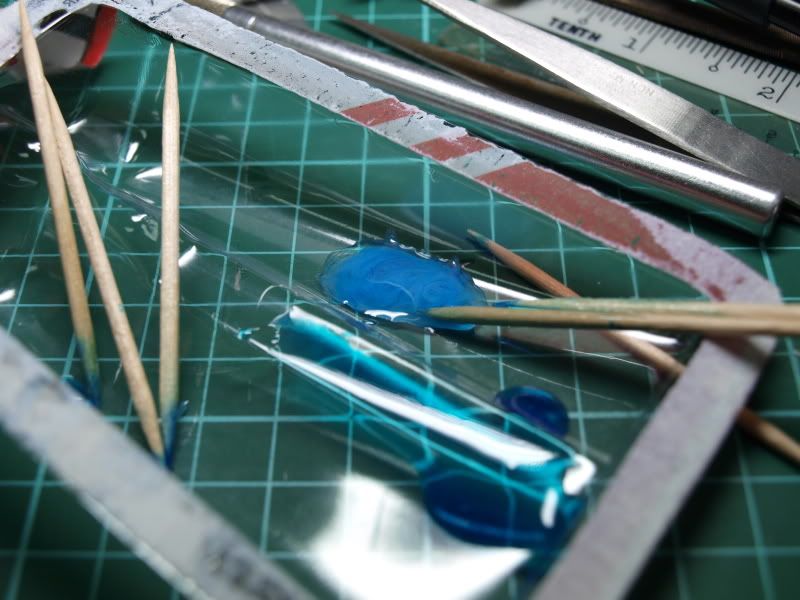
But! surprisingly, once added with hardener, viola! the whole solution become clear again!!!!


This is what i got. The clear n the color actually looked pretty impressive. Besides that, it did give a bery nice body. However, a few problems that made me finally decided to call it off:
1) the bubble trapped inside
2) Though it gives nice body, but it tends to to too round on the top and the side. Yes, it is suitable for building gems or something, but for a mechanical lens, no.
Yeah, agree........ YUCKS!


Added a small puny horn......

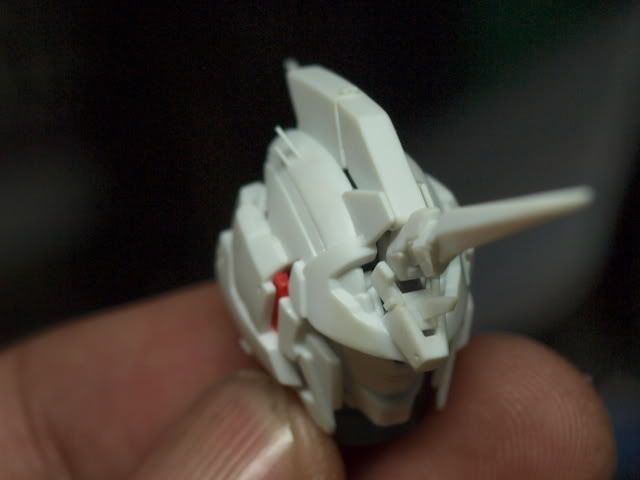
After that, decided to turn the sides to destroy mode. This is the easiest way to expose a little bit of psychoframe... Hohoho!

Added a antenna thingy at the back...well, unicorn mode side looks good, but thinking of the psychoframe part, in the end, decided to go back to original plan.....


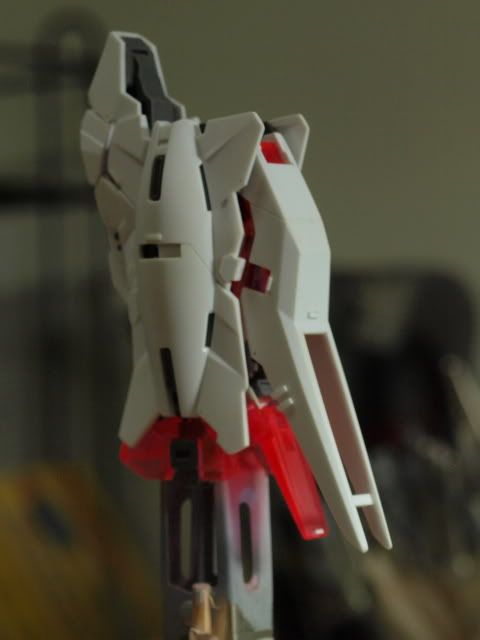
Final Stage for the head.........


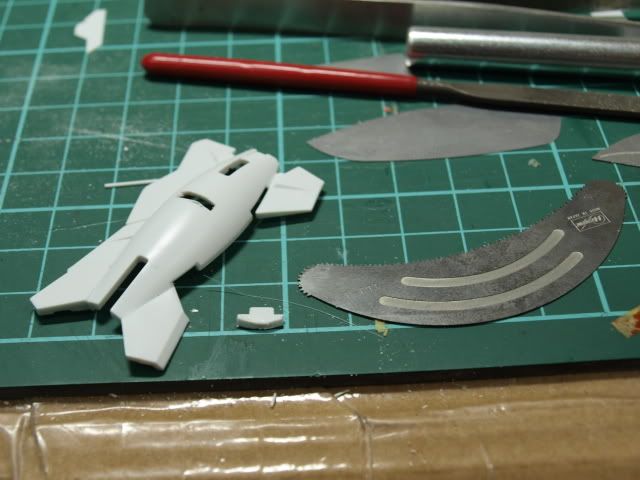
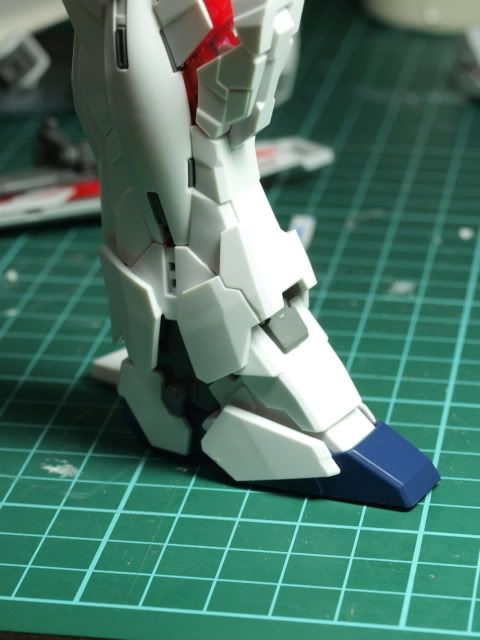
Extend the ankle armor. Just to make it look sharper.
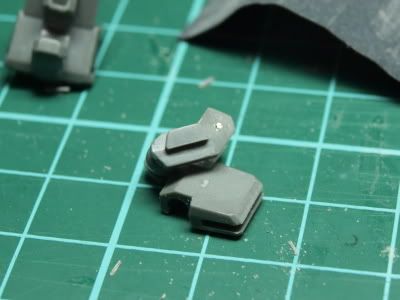
The joint/connect for the foot guard.... Seriously I really cant remember why i shorten it, besides adding some koto part to make it not so empty. I guess is because of the final display will be like half unicorn half destroy mode..
.

My favorite: Aluminium Tube plus polishing....
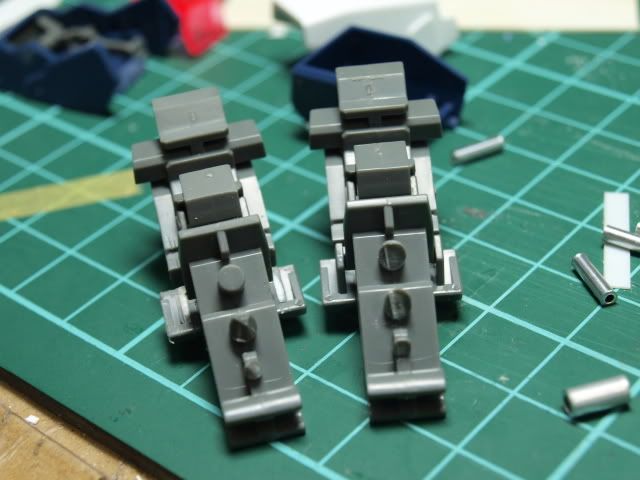
Adding a piston on the foot. Just a little trimming on the inner frame to fit in the aluminium tube.


Again, I dont know why i did that.... for detailing purpose only? then why to the extend of such troublesome work?

This is how it looks like finally. Not that great, but seemed like i did spent quite some time on it.... Duh....
Another photo which i dunno WTH i was trying to say..... T.T I suspect is just some sample photo to show how i trim the armor smaller to reveal more psychoframe in unicorn mode...


This is what i m talking about: trim off some part of the armor to make it expose the psychoframe even when they r not opened.
Dont ask............


Standard protocol. plan, masking tape, poke holes, play join the dot using needles....


some detailing. Basically just dig holes... hahahahaha. and some trimming of armor to reveal psychoframe.....

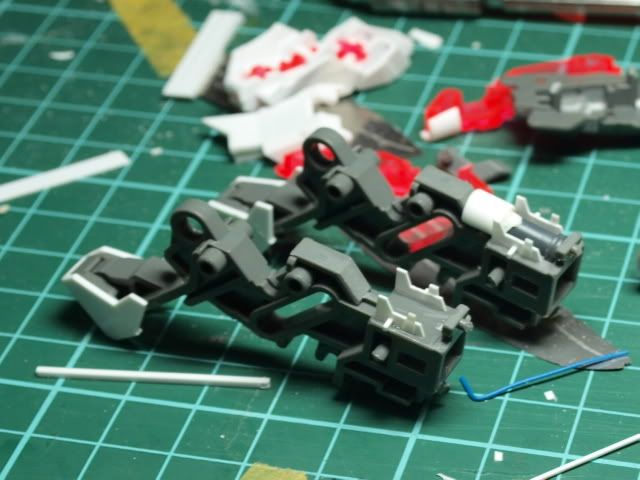
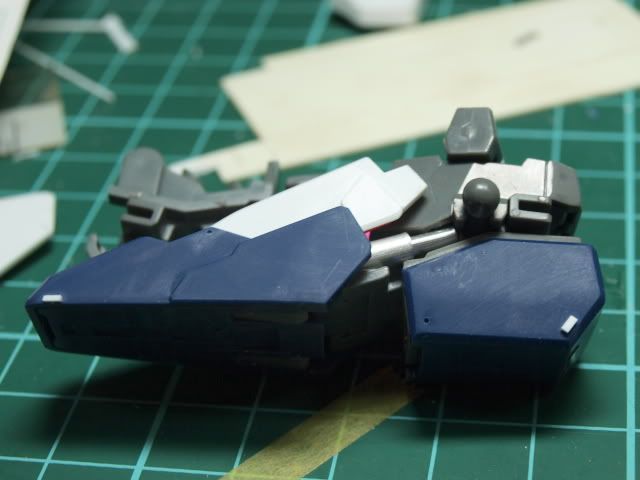
Prepare for back part of the lower feet. More piston, and inner frame part for the back thruster. Copy Hyaku Shiki design for the armor.


Final appearance....

This is one of the shortcut i use pretty frequently... just add a standard thickness pla-plate, to help create a armor seperation effect.....


I think the knee armor looks too plain. If there is some inner frame part exposed there will be good. Actually i do not need a real inner frame because the height n depth isn't that important; i just need some inner frame color there. In the end, instead of saw n make a hole on the armor, i decided to just put a pla plate with inner frame color.....
WIP #2 http://rayloke-model.blogspot.com/2013/12/mg-1100-unicorn-wip-2.html
WIP #3 http://rayloke-model.blogspot.com/2013/12/mg-1100-unicorn-wip-3.html
WIP #3 http://rayloke-model.blogspot.com/2013/12/mg-1100-unicorn-wip-3.html
Completed Kit:
No comments:
Post a Comment