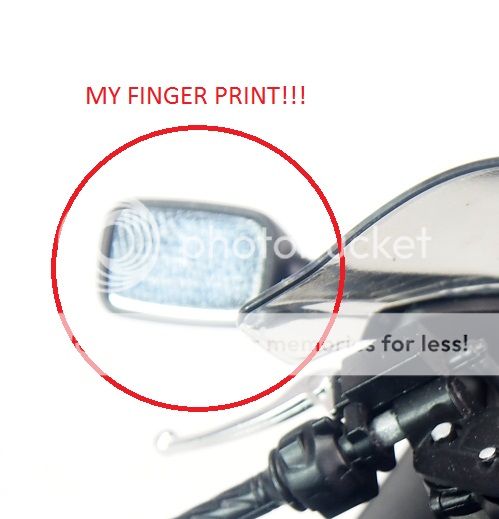
Ok, confession: Hahahaahah!!!!!
1) Torn Decal: Basically the decal is old. I have tried some small part, n found it cracks. Thinking of the cracking isn't severe i decided not to use any decal rescue fluid.
When I apply the decal, the big piece cracked into 3~4 pieces, still manageable. Manage to make them pretty much perfect.
However, since the decal is old, which the glue would be weak, i decided to apply a little Mark setter, which consist of some adhesive in it besides melting the decal, n let the fluid sip underneath the decal.
The decal started to CRACK!!!!!!
The worst thing is, the decal is already soft at that time, which i cannot re-adjust the decal anymore!!!!!

2) Wrong sequence: the original plastic brake disc comes with pegs, which makes it quite durable. However, the photo etched brake disc doesn't, and only glued to the rim with 5 tiny points. I should have insert the wheel into the spokes, then after that only glue the brake disc.
Since i terbalik the sequence, the brake discgot detached, n i gotta re-glue it onto the rim, which super glue on top of super glue, the brake disc is extremely fragile now..... DUH!

3) Gap!!!! The front connects to the main body through a male peg from the main body n the female peg on the front light. I didnt make preparation to make sure i have more flexibility when i final assemble the parts. As now, due to my mistake, I m not able to adjust anymore, n as a result, an ugly gap!

4) THIS IS EMBARASSING!!!!!!! Seeing how difficult n risky to take out the wheel again, I decided to ..... just leave it as it is!

5) Again, NOOB mistake of not doing preparation work. Forgot about the force that might incurred after the parts with multiple layer of coating.... Seamline cracked.... T.T

6) Old Metal Transfer................... Old old old..... Inititally was ok, but things got crazy when i apply wax n use cloth to wipe. Decided to leave it. T.T

7) Simple as this is..... glue mark!!!!!!


No comments:
Post a Comment